Homemade face masks for pimples: gentle recipes
A homemade face mask for blemishes can absorb excess oil or soothe discomfort, but it should not burn, dry out to the point of cracking, or be used for extraction with fingernails. The most careful recipes use kaolin, oats, aloe, or honey in measured doses. Lemon, baking soda, toothpaste, and pure essential oils are excluded.
First, understand what a mask can target
A mask acts on the surface: excess lipids, accumulated cells, discomfort, and hydration. It does not clear all pores and does not replace professional care when lesions are deep or painful.
Blackheads, red pimples, brown marks, and small bumps under the skin do not require the same actions. Start by describing what is visible without picking.
A mask acts on the surface: excess sebum, dead cells, temporary redness. It does not reach what happens in the pore, let alone what is related to hormonal factors.
That's why mask recipes produce results on comfort and general appearance, never on the number of lesions. Expecting them to do what they can't leads to trying one natural ingredient after another without ever getting what you're looking for.
Kaolin-glycerin recipe for a shiny T-zone
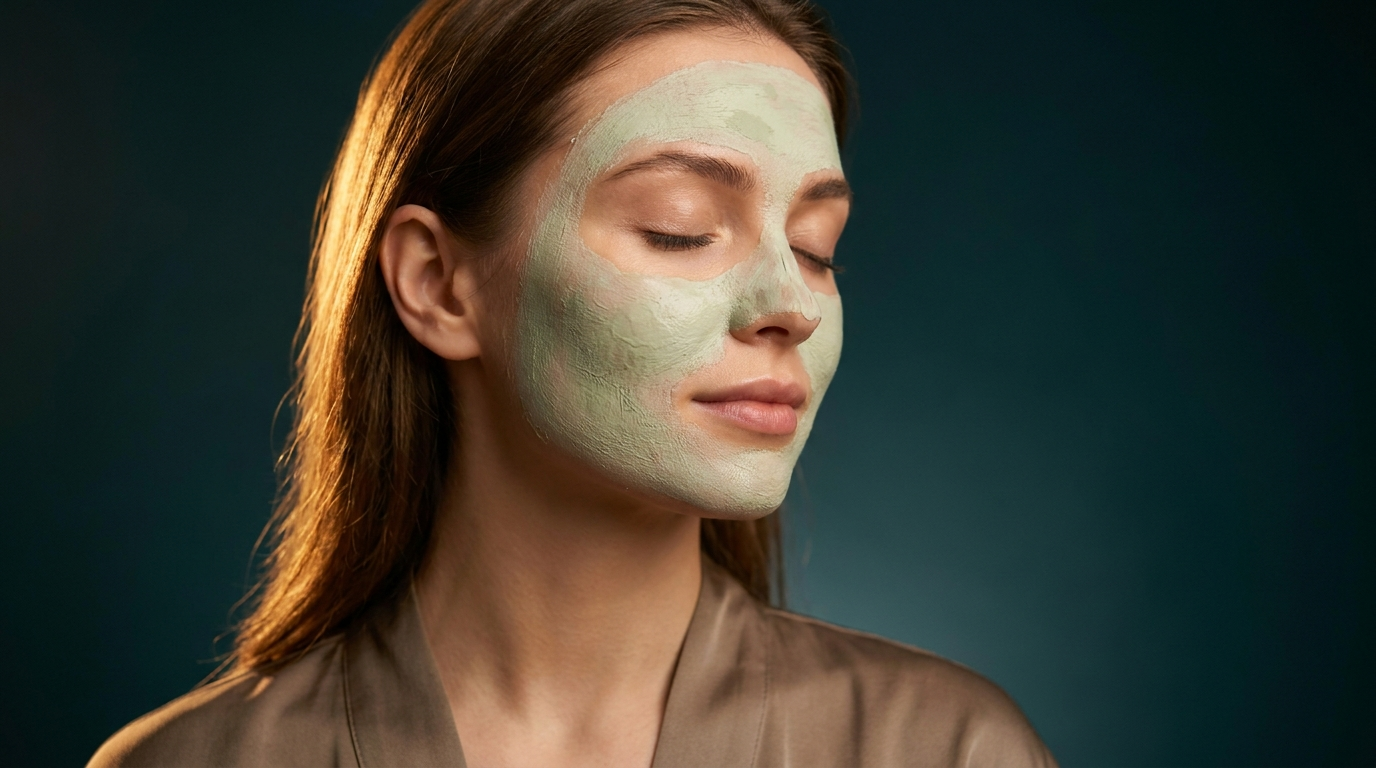
Mix one tablespoon of kaolin, two teaspoons of water, and half a teaspoon of glycerin. Apply only to the forehead, nose, and chin.
Leave on for six minutes. Spray with water if the paste turns white. Rinse without a mitt or brush.
- 1 tbsp kaolin
- 2 tsp water
- 1/2 tsp glycerin
- 6 minutes
- Once a week
One teaspoon of kaolin, half a teaspoon of vegetable glycerin, a few drops of water until a paste is formed. Apply to the median area only, leave for ten minutes, then rinse with lukewarm water — never until completely dry.
Kaolin absorbs excess sebum without stripping, glycerin prevents the tight feeling that often follows clay masks. These two natural ingredients are sufficient: mask recipes that list eight ingredients don't do better, and increase the chances of a reaction.
Oat-aloe recipe for red pimples and sensitive skin
Mix one tablespoon of colloidal oatmeal, one tablespoon of cosmetic aloe gel, and one teaspoon of water. Let it swell for two minutes.
Apply for five minutes without massaging. Rinse with cool water, then add a simple cream. This recipe aims for comfort, not extraction.
Honey alone: a sticky but simple option
Spread one teaspoon of honey in a very thin layer on damp skin. Leave for five minutes, then emulsify with lukewarm water before rinsing.
Food-grade honey varies greatly and is not a sterile product. Do not apply to an open or weeping area and discard any remaining mixed preparation.
One spoonful of pure honey, fifteen minutes, then rinse with lukewarm water. This is the simplest recipe and one of the best tolerated, even on reactive skin.
Honey retains water thanks to its sugars and limits surface proliferation. Its drawback is practical rather than cosmetic: it drips, it's sticky, and you have to dedicate a moment to it when you're doing nothing else.
Charcoal and green clay: why stay targeted
Activated charcoal adsorbs compounds on its surface, but a fine powder disperses in the air and stains. Green clay absorbs strongly and can increase tightness.
Reserve these powders for the nose and chin for five minutes. Kaolin is often simpler for a first recipe.
Lemon, baking soda, toothpaste, and cinnamon: four exclusions
Lemon juice has a pH close to 2 and can cause strong irritation, especially before sun exposure. Baking soda is alkaline and disrupts skin pH.
Toothpaste contains surfactants, flavors, and agents intended for enamel, not the face. Cinnamon contains sensitizing cinnamaldehyde. None of these ingredients are necessary.
Lemon is photosensitizing and its pH drops below 2.5. Baking soda raises the skin's pH above 8. Toothpaste contains surfactants and menthol. Cinnamon is a recognized irritant.
These four, however, appear in almost all mask recipes found online. None of them belong on a face, and the fact that they are natural does not change this fact.
Tea tree: never pour drops randomly
Tea tree essential oil is concentrated. A poorly diluted homemade recipe increases the risk of reaction. For a full face, it is better to choose a ready-to-use and properly dosed cosmetic formula.
A punctual application is not intended for pregnant women without professional advice or for very reactive skin.
Tea tree essential oil should be diluted to a maximum of 1%, i.e., one drop per five milliliters of carrier. Pure on a pimple, it burns the healthy skin around it and leaves a longer-lasting mark than what it was treating.
It should also not be incorporated into a clay mask, which would release it all at once upon contact with the skin. If you use it, do so in a targeted treatment prepared separately, with a fatty carrier that truly dilutes it.
Salicylic acid: separating the product from the mask
A lotion with 0.5 to 2% salicylic acid can be used on another evening according to the label. Do not pour an acidic serum into a homemade clay mask: the final pH becomes unpredictable.
Alternate the mask on Saturday and the BHA on Tuesday. This separation reduces the cumulative effect of exfoliation and absorption.
Commercial salicylic acid is used as a targeted treatment, never mixed into a homemade preparation: its concentration and pH are calculated, and diluting it randomly removes the benefit without removing the risk.
Apply it to clean skin, let it work, and save the mask for another evening. Separating the two actions allows you to know which one is working — and which one, if any, is causing redness.
Twenty-eight day protocol without extraction
Week 1: kaolin mask once. Week 2: add BHA on another evening. Week 3: keep only well-tolerated actions. Week 4: compare photos under the same light.
Cleanse for twenty seconds, apply measured amounts, rinse, then moisturize. Do not press any pimples with your nails.
| Week | Mask | Separate active | Measurement |
| 1 | Kaolin 6 min | None | Comfort |
| 2 | Oat 5 min | BHA 1 evening | Redness |
| 3 | 1 mask | BHA 1 to 2 evenings | Shine |
| 4 | According to tolerance | Stable | Photos |
Two masks per week for four weeks, never touching the lesions in between. This is the duration of a renewal cycle, and nothing can be judged before then.
Note what you apply and when: on blemish-prone skin, sebum excess varies from week to week for reasons unrelated to skincare. Without this record, one attributes to the last mask what is due to the cycle — and changes recipes just when the previous one was starting to work.
Hygiene, preparation, and storage
Wash hands, use a clean glass bowl and a spatula. Prepare a single dose. A recipe based on water, aloe, yogurt, or honey should not be stored without a preservative.
Change pillowcases once or twice a week and clean your phone. These actions reduce repeated contact without promising a direct effect on every pimple.
Clean bowl, clean spoon, washed hands: without preservatives, a homemade preparation gets contaminated within hours. Prepare the amount for one application and discard the rest.
Leave on for the indicated time, then rinse with lukewarm water. Never store leftovers in the refrigerator "for next time": this is the primary source of reaction for this type of preparation, even before the choice of ingredients.
When to stop homemade recipes
Deep pain, nodules, numerous lesions, worsening marks, or a significant impact on morale justify seeing a healthcare professional. Recipes should not delay this step.
The blemish routine helps build a gentle foundation. The oily skin page also distinguishes between shine, pores, and dehydration.
The query homemade face mask for blemishes specifically refers to this need, with its own gestures, doses, and limits.
Nasal sebaceous filaments are normal structures that regenerate. Extracting them every week often maintains friction and redness.
Oily skin can also be dehydrated. If your cheeks feel tight after clay, reserve the mask for the T-zone and apply a gel-cream to the rest of your face.
Oat powder should be very fine. If grains are perceptible, do not massage when rinsing to avoid additional mechanical exfoliation.
A poorly dried brush can retain water and microorganisms. Wash it with soap, rinse, and let it air dry before storing it.
Water temperature influences comfort: very hot water accentuates redness, while lukewarm water is enough to remove honey and clay.
Hydrocolloid patches cover a superficial pimple and limit touching. They are not full-face masks.
A cream containing 2 to 5% niacinamide can complement the routine. Introduce it alone for seven days to check tolerance.
Zinc PCA appears in some formulas for blemish-prone skin. Its presence does not predict efficacy without knowing the concentration and vehicle.
Very rich vegetable oils applied in a thick layer can be uncomfortable on an already shiny area. A gel-cream texture is often easier to dose.
Sleep, stress, the hormonal cycle, and certain hair products alter the appearance of blemishes. A simple journal helps identify repeated coincidences.
A photo taken immediately after rinsing often shows mechanical redness. Wait thirty minutes before comparing the result.
A mask should not remain until it cracks. Total water loss increases surface tension without further extracting pore contents.
Honey rinses better after gradual addition of water. Rubbing a sticky paste directly increases friction on pimples.
Morning cleansing can be reduced to water or a gentle gel depending on the skin. Two aggressive cleansings per day complicate tolerance to active ingredients.
SPF should be applied every morning, especially when a BHA or AHA is present during the week. Two finger-lengths generally cover the face and neck.
As soon as the lesions leave pitted marks, or they spread despite two months of a regular routine. These are the two signals that justify consulting rather than continuing to search for the right recipe.
A well-conducted home treatment supports mild conditions. Beyond that, it delays care that would have been simpler earlier, and this limit deserves to be stated clearly.
What homemade masks don't do
A homemade face mask for blemishes does not eliminate an outbreak overnight, sterilize pores, or replace appropriate follow-up. A feeling of very dry skin is not a sign of success.
The best home protocol remains short, measured, and reproducible. The goal is to limit aggravating actions and improve surface appearance without causing new irritation.
It does not treat acne. For skin with significant blemishes, no homemade recipe replaces medical advice, and persisting delays care that would have been simpler earlier.
Nor does it eliminate marks left by old blemishes. What these recipes provide relates to comfort and surface appearance — it's real, it's modest, and stating this prevents months from being wasted.
Our anti-aging treatments