Face mask: how to use it correctly, step by step
A face mask is a treat you give yourself when you want to truly relax. But the same mask can make all the difference—or almost none—depending on how you apply it. Proper face mask application involves a few precise steps: well-prepared skin, a correctly portioned layer, targeting the right areas, and gentle removal. This is exactly what the NOPAL LIFE Beauty Lab guide details: not which mask to choose or how long to leave it on, but how to apply it to get the best results, with the precision and botanical nourishment that are so important to us.
Why the application technique makes all the difference
A face mask is a targeted, more concentrated or enveloping treatment than daily skincare, designed to meet a specific need during application: comfort, visible radiance, softness, or a refreshing sensation. However, a poorly applied mask rarely performs at its best. A layer that is too thin limits the benefits; poorly cleansed skin absorbs it less effectively; and aggressive removal can damage the skin's surface. Conversely, the right technique transforms this step into a truly sensorial experience.
Proper mask application essentially involves mastering three complementary parameters. The first—which mask to choose based on your current need—guides you to the correct formula. The second—how often to apply a mask—establishes regularity. The third—how long to leave it on—prevents over-application. This article focuses on the fourth, often overlooked aspect: the application technique itself.
Good news: applying a mask like an expert doesn't require any complicated equipment. A few guidelines are enough, and the moment of relaxation does the rest.
The 8-step protocol, step-by-step
Here is the method we recommend for applying your face mask correctly, from preparation to the final step.
1. Cleanse your skin beforehand. The mask should always be applied to perfectly cleansed skin. Remove makeup, then cleanse with lukewarm water and gently pat dry with a clean towel. Clean skin allows the treatment to be absorbed freely.
2. Choose the right moment, ideally after a shower. The warmth and steam relax the skin's surface, making it an ideal time to apply a mask. You can also apply a very light serum beforehand if the formula allows.
3. Apply a generous and even layer. Using clean fingers or a dedicated brush, apply the mask in an even layer, neither too thin nor too thick. Start from the center of your face and work outwards, gently smoothing along your cheeks, forehead, and chin.
4. Avoid the eyes and lips. These delicate and thin areas generally don't need a mask. Leave a margin of about one centimeter around the eyes and avoid the lip area, unless the product specifies otherwise.
5. Respect the recommended application time. Generally, allow 5 to 10 minutes for a hydrating mask, and a little longer for a sheet mask. For a clay mask, never let it dry completely or crack. Exact timings for each formula are detailed in our guide on face mask application time.
6. Allow yourself a real break. Use these few minutes to relax: lie down, breathe, close your eyes. This pause is an integral part of the ritual.
7. Remove gently. Rinse with lukewarm water in small circular motions, or remove excess with a soft, damp cloth. For a sheet mask, remove the sheet and then pat the remaining serum into the skin. Never rub.
8. Seal with your usual skincare products. Once the mask is removed, the skin is ideally prepared to receive a serum, followed by an oil or cream. This is the perfect time to extend the comfort provided.
When adopted regularly, these eight guidelines help you get the most out of each application. To build a suitable kit, the NOPAL LIFE Natural Face Care collection brings together formulas designed for every need.
Adjusting the technique to the mask type
Not all textures are applied in the same way. Here, at a glance, is how to adjust the tool, thickness, removal, and application time according to the mask family—a table to keep in mind when applying.
| Mask Type | Recommended Tool | Layer Thickness | Removal | Application Time |
|---|---|---|---|---|
| Cream / Nourishing | Clean fingers or brush | Medium, even | Lukewarm water, gentle circular motions | 5 to 10 min |
| Gel / Hydrating | Fingers | Thin to medium | Lukewarm rinse or patting | 5 to 10 min |
| Clay | Flat brush | Generous and opaque | Re-wet then rinse before complete drying | ≤ 10 min, without cracking |
| Sheet | None (pre-soaked sheet) | Conform to face, remove air bubbles | Remove sheet, pat in remaining serum | 15 to 20 min |
These guidelines serve as starting points: always refer to the product instructions, as each formula has its own logic. The important thing is to adjust your technique—and not to apply all textures in the same way.
The technique also adapts to different skin types. Dry skin or skin seeking comfort appreciates a generous layer of a hydrating mask; combination skin benefits from limiting clay to the T-zone, which is oilier, while applying a hydrating mask to the cheeks; sensitive skin prefers shorter application times and particularly gentle removal. Incorporated once or twice a week, a mask naturally finds its place in the routine, preferably in the evening, when the skin is clean and the moment is conducive to relaxation.
The NOPAL touch: sealing in comfort after the mask
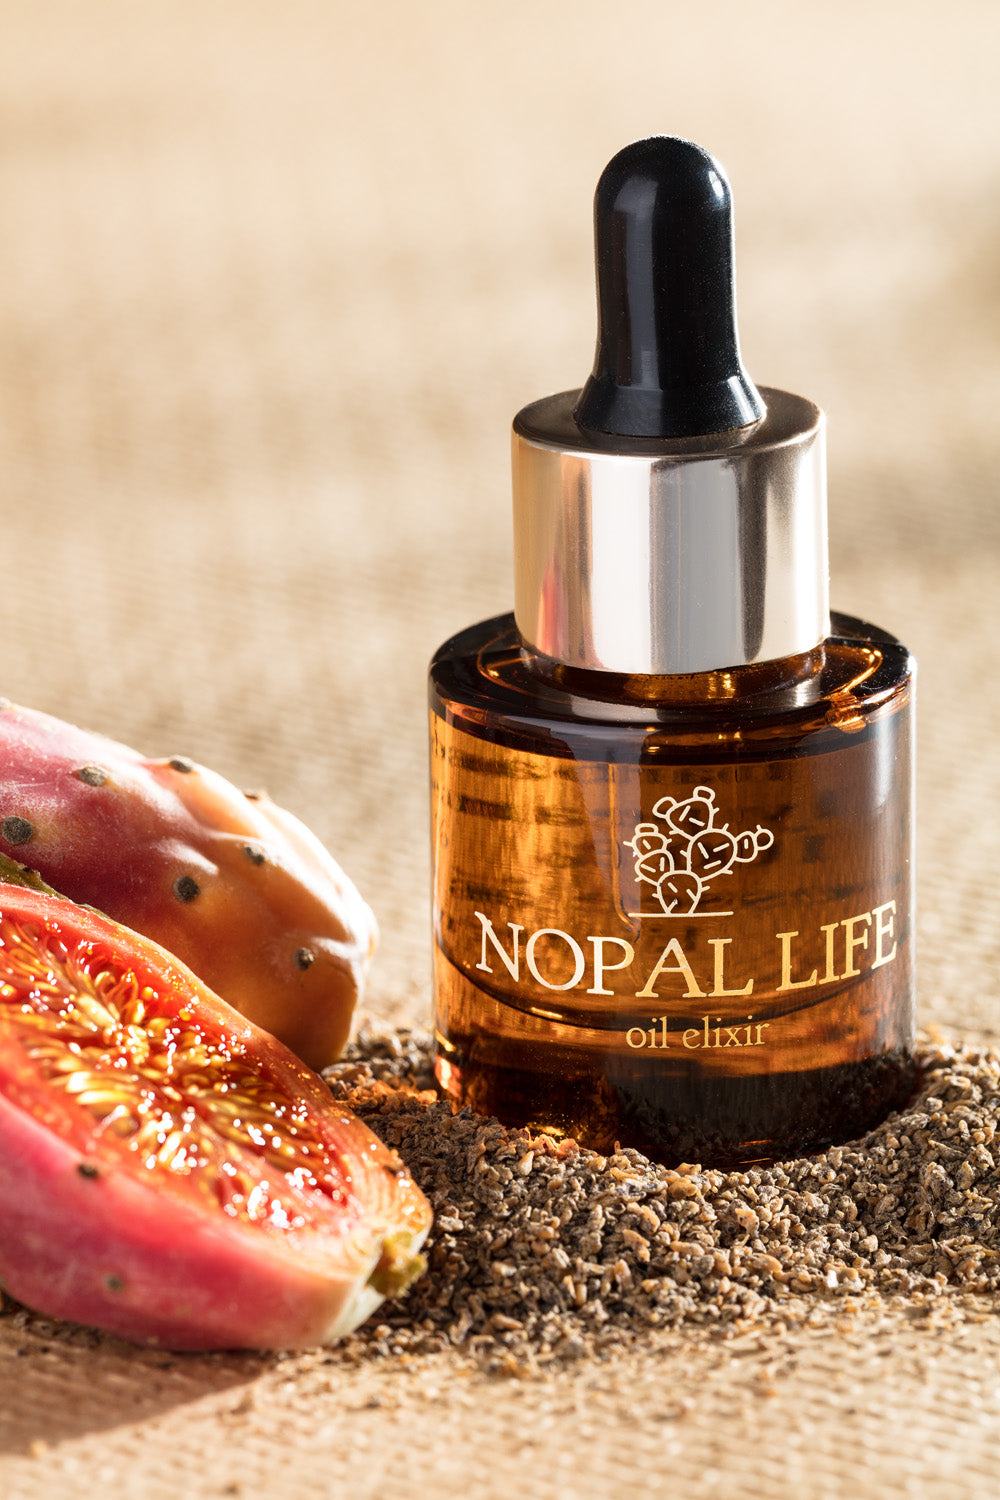
This is the step most often forgotten, yet it's the one that prolongs the results. Immediately after removing the mask, on skin that is still slightly warm, gently pat 2 to 3 drops of cold-pressed prickly pear seed oil from the cheeks outwards. Rich in linoleic acid (56 to 64%) and tocopherols (Vitamin E), this oil—our signature—helps preserve the barrier's comfort and seals in the suppleness provided by the mask. A simple ritual that gives the entire process a true finish.
RECOMMENDED TREATMENT
Prickly Pear Seed Oil · Cold-Pressed
The final step to seal in comfort · Organic
DISCOVER THIS TREATMENT →To integrate a mask into a complete routine, the NOPAL LIFE Hydration & Comfort collection and the Radiance & Even Tone collection offer treatments that follow harmoniously after mask application.
Application mistakes to avoid
Some common missteps often prevent a mask from delivering its full potential.
Applying too thin a layer. A veil that is too light limits the benefits of the treatment. A generous and even layer allows it to fully play its role.
Allowing a clay mask to dry completely. When clay cracks, it accentuates the feeling of tightness. It is better to re-wet it and remove it before it is completely dry.
Applying to poorly cleansed skin. On a surface laden with impurities, the mask is absorbed less effectively and adheres poorly. Cleansing remains the foundation.
Applying to the eye contour area. This delicate area does not need a mask; applying it there often creates unnecessary discomfort. Maintain a clear margin.
Rubbing to remove. Gentle rinsing or a soft, damp cloth respects the skin better than vigorous rubbing, especially for reactive skin types.
By avoiding these pitfalls, each application fully reveals its potential for comfort and freshness.
Frequently Asked Questions
Should a mask be applied before or after cleansing?
Always after. A mask should be applied to perfectly cleansed and makeup-free skin, so that the treatment is absorbed freely. Prior cleansing is essential—it is the first of the eight steps.
With fingers or with a brush?
Both work. Clean fingers are perfectly suitable for cream and gel textures. A flat brush is more precise and hygienic for thicker, clay-based formulas. The essential thing is to start from the center of the face and work outwards, in an even layer.
Should you rinse after a mask?
It depends on the type. Cream, gel, or clay masks should be rinsed with lukewarm water or removed with a soft, damp cloth. Sheet masks, however, are removed without rinsing: the remaining serum is patted into the skin.
Can a serum or oil be applied after the mask?
Yes, and it is even recommended. Once the mask is removed, the skin is ideally prepared. Apply a serum, then 2 to 3 drops of botanical oil or a cream to seal in the comfort provided by the mask.
How long should a mask be left on?
As a general guideline, 5 to 10 minutes for a hydrating mask, 15 to 20 minutes for a sheet mask, and never until completely dry for a clay mask. Since each formula has its own specific duration, refer to the product and our dedicated guide on application time.
Does the online diagnosis replace the advice of a healthcare professional?
No. The Nopal Life Skin Intelligence™ diagnosis is a cosmetic guidance tool for choosing a suitable routine. If you observe a skin reaction or persistent discomfort, consult a healthcare professional.
Proper mask application involves combining well-prepared skin, a generous layer, the correct application time, and gentle removal, followed by your usual skincare routine. The only thing left is to choose the formula that is truly right for your skin: if in doubt, the Nopal Life Skin Intelligence™ diagnosis asks you a few questions in 2 minutes and guides you towards the most suitable treatments.
Read next
- Which mask to choose according to your needs
- How often to apply a mask
- How long to leave a mask on
- Skin Guide — all our tips
Information provided for cosmetic and educational purposes; it does not constitute medical advice.
Our anti-aging treatments