

Homemade facial scrub: 10 gentle recipes
The danger of a homemade exfoliant comes not from the ingredient itself, but from the particle size and the pressure applied. Finely ground oat flour and a sugar crystal are both "natural"; the former smooths, the latter cuts. At home, safety depends on three measurable parameters—the fineness of the powder, the duration of the massage, and the force applied—and not at all on the naturalness of what you put in the bowl. Ten specific recipes follow, with proportions, durations, and a list of what should never be applied to the face.
Three Families, Three Logics
Mechanical exfoliation removes dead cells through friction. Everything depends on the particle: it must be so fine that no grit is distinguishable between the thumb and forefinger. The tactile test decides, not the label.
Enzymatic exfoliation uses proteolytic enzymes—papain from papaya, bromelain from pineapple—which digest the proteins binding corneal cells. No friction is necessary, making it the gentlest option. Its limitation lies in unpredictability: the concentration of fresh fruit varies with its ripeness.
Food acids—yogurt, lemon, vinegar—are the family to avoid. Their pH is uncontrolled, varying from one product to another, and it is precisely the pH that determines the strength of an acid. Yogurt is an exception as a gentle contribution, but it should not be considered a peel.
A common rule: prepare a single dose in a clean bowl and discard any leftovers. An aqueous preparation without preservatives, handled with fingers, should not be kept.
Ten Specific Recipes
| No. | Recipe | Composition | Action | For Whom |
|---|---|---|---|---|
| 1 | Simple Oats | 1 tbsp colloidal oats + 2 tsp water | leave on 5 min, massage 10 s | sensitive skin |
| 2 | Oats and Honey | 1 tbsp oats + 1 tsp honey + 2 tsp water | leave on 5 min, massage 10 s | dry skin |
| 3 | Rice Powder | 1 tsp rice flour + 1 tbsp aloe vera gel | massage 20 s | normal skin |
| 4 | Papaya and Aloe | 1 tsp ripe papaya + 1 tbsp aloe vera gel | leave on 3 min, no massage | reactive skin |
| 5 | Pineapple and Yogurt | 1 tsp fresh pineapple + 1 tbsp yogurt | leave on 3 min, no massage | dull complexion |
| 6 | Yogurt Alone | 2 tbsp plain whole milk yogurt | leave on 8 min | first approach |
| 7 | Rice and Honey | 1 tsp rice flour + 1 tsp honey + 1 tsp water | massage 20 s | combination skin |
| 8 | Oats and Yogurt | 1 tbsp oats + 1 tbsp yogurt | leave on 6 min, massage 10 s | dry sensitive skin |
| 9 | Kaolin and Rice | 1 tsp kaolin + 1 tsp rice flour + water | leave on 5 min, massage 15 s | oily T-zone |
| 10 | Aloe and Oats, Quick | 1 tbsp aloe vera gel + 1/2 tsp oats | massage 15 s | very reactive skin |
A teaspoon is approximately five milliliters, a tablespoon fifteen. These benchmarks make the recipe reproducible—otherwise, it's impossible to know if a reaction comes from the formula or the day's dosage.
Recipes 4, 5, and 6 are enzymatic or acidic: they are not massaged, but applied and rinsed. The others are mechanical and require a short massage.
Three Detailed Recipes
Oats and Honey (No. 2). Pour one tablespoon of colloidal oats and one teaspoon of liquid honey into a clean bowl. Add one to two teaspoons of warm water until you get a smooth paste that stretches between two fingers without any discernible particles. Spread without rubbing on damp face, leave on for five minutes, then massage for ten seconds with wet fingers. Rinse thoroughly with lukewarm water.
Rice Powder and Aloe (No. 3). One teaspoon of cosmetic rice flour, one tablespoon of aloe vera gel. The rice flour must be very finely ground—food-grade rice flour is often too coarse for the face. Massage for twenty seconds in circles less than one centimeter, without the skin moving under the fingers, then rinse. See our page on rice flour.
Papaya and Aloe (No. 4). Mash one teaspoon of very ripe papaya and mix with one tablespoon of aloe vera gel. Leave on for three minutes for the first trial, rinse immediately. No massage: the papain works alone. Do not extend the duration until you have done three trials without reaction—a very ripe fruit is significantly more active than a firm fruit.
What Never to Use on the Face
- Sugar and salt. Their crystals have sharp edges that create invisible micro-lesions. They are suitable for the body, never the face.
- Crushed pits—apricot, walnut—for the same reason, but worse: the fragments are irregular and sharp.
- Coarse coffee grounds, whose particles are angular.
- Baking soda. pH 9: it destroys the hydrolipidic film in addition to being abrasive.
- Lemon. pH close to 2, uncontrollable, and photosensitizing—applied before sun exposure, it causes burns and lasting spots.
- Vinegar, even diluted: acidity varies from bottle to bottle.
- Crushed eggshell, sometimes recommended: abrasive and microbiologically dubious.
These ingredients circulate because they produce a strong sensation, interpreted as an effect. The sensation is a symptom of aggression, not proof of action.
Honey requires a different kind of caution: it is a recognized contact allergen, especially in people sensitive to pollen or hymenoptera venom. Test before full application.
The Protocol, Before and After
Cleanse for thirty seconds with a gentle product, then rinse.
For a mechanical recipe, leave the skin damp: water reduces friction and allows the powder to glide instead of clinging. For an enzymatic recipe, on the contrary, pat dry—water dilutes the enzyme.
Adhere to the timer rather than your impression. Three felt minutes are often six real minutes, and it is on this type of discrepancy that irritations occur.
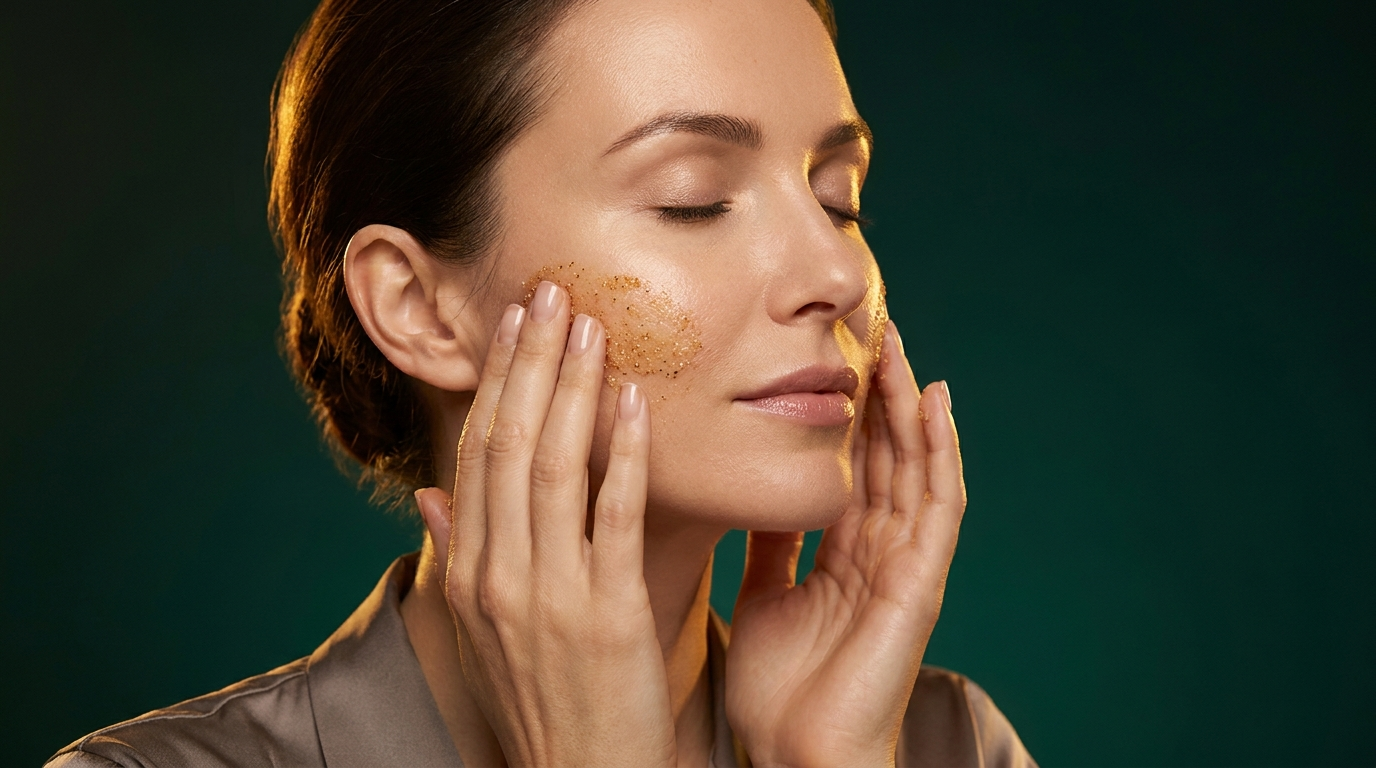
Massage with fingertips flat, in circles less than one centimeter. The skin should not move under your fingers—this is the best indicator of correct pressure.
Rinse with lukewarm water, pat dry, then apply two to three drops of hydrating serum and a pea-sized amount of cream within two minutes.
The next day and for several days after, sun protection is essential: freshly exfoliated skin is more sensitive to UV rays for several days. See our exfoliation module.
Adapting the Method to Your Skin Type
The same recipe doesn't suit everyone, and the actual need is observed on the skin rather than from a standard routine.
On oily skin, the kaolin and rice flour recipe should be applied to the T-zone only, once a week. There's no need to treat the cheeks, which don't have the same need.
On dry skin, prioritize recipes containing honey or yogurt, which provide humectants during exfoliation. Add a vegetable oil—half a teaspoon of jojoba or sweet almond—to improve glide and limit friction. Once every two weeks is sufficient.
On combination skin, treat by zone in the same session: a more absorbent preparation on the forehead and nose, a gentle preparation on the cheeks.
On sensitive skin, enzymes or oats alone are the only reasonable options, and complete absence of exfoliation remains a valid choice. Natural desquamation continues without assistance: no beauty regimen requires weekly exfoliation.
Three areas should always be avoided: the eye contour, where the skin is less than a millimeter thick; the sides of the nose when cracked; and the area around the mouth, already exposed to daily friction.
As for the action itself, small circular movements are preferable to firm back-and-forth rubbing. What improves skin texture is consistency over several weeks, not the intensity of a single session—and the radiance obtained comes from a smoothed surface, not deep exfoliation.
Frequency, Testing, and Stop Signs
Start with once every two weeks, regardless of the recipe. Frequency can be increased if tolerance is good, never the other way around.
First, test behind the jaw for the planned duration, rinse, and wait twenty-four hours—forty-eight on reactive skin, as some reactions are delayed.
Never combine a homemade scrub with a formulated acid, a retinoid, a brush, or a low-pH vitamin C on the same evening. Space them out by three to four days. Many routines contain acids in places not identified as such: cleansers, toners, wipes.
Signs that require stopping for seven to fourteen days: new tightness, stinging with plain water, diffuse redness persisting for more than an hour, unusual shine, increased sensitivity to a product usually well-tolerated.
A common interpretation trap: peeling skin is not proof that the action is working. It's a sign that the stratum corneum is shedding faster than it can regenerate.
What Homemade Recipes Don't Do
They don't allow you to know either the pH or the actual enzyme concentration. This is the fundamental difference from a stabilized formula, where these two parameters are controlled and constant.
They don't make pores disappear, as their diameter depends on genetics and sebum production.
They don't erase scars or old acne marks. Strong abrasion can, on the contrary, exacerbate them, especially on dark skin where any inflammation risks leaving lasting hyperpigmentation.
And they don't remove blackheads: the plug is inside the pilosebaceous canal, out of reach of any surface friction.
What they do, when the skin tolerates them: temporarily improve softness and texture regularity. This is a real but modest benefit—to be weighed against a risk that is not always so.
Dosage is the Real Problem with Homemade Recipes
An improvised preparation controls neither the fineness of the grain nor the quantity, and that's where the risk comes from, not the intention. An organic exfoliating soap with prickly pear addresses this issue upfront: the grain is calibrated and the fatty base is already part of the formula.
Our anti-aging treatments


