Gua Sha Facial Routine: Movements, Order, and Ideal Stone
The beauty of a gesture lies in its precision. Gua sha is not a complicated accessory: when held correctly and oriented properly, it transforms the application of a skincare product into a true ritual. But for a gua sha facial routine to last, one question always arises: when should this stone tool be incorporated into your skincare regimen, and in what order should products be applied? Through this Beauty Lab guide, NOPAL LIFE helps you master this stone — angle, direction, pressure, rhythm — with the precision and touch of botanical nourishment that are dear to us. The goal is not performance, but comfort: relaxed skin, a brighter complexion, a face that looks rested.
Where to place the tool in your routine
The gua sha is a small, flat massage tool, carved from a stone (rose quartz, jade, amethyst), with rounded edges and curves designed to fit the contours of the face. Its principle is simple: it is glided over the epidermis, always with an oily product to ensure perfect glide, to facilitate a gentle and regular massage. Applied to the features, it helps to relax them, revive their radiance through a surface stimulation effect, and provide a very pleasant feeling of lightness upon waking or at the end of the day. It's a movement of appearance and comfort, not a medical treatment: it enhances the complexion without replacing it.
The real key to a successful sequence is the order of products. The tool is used with an oil layer, never before cleansing or over a rich cream that would hinder its glide. Here's where it naturally fits, both morning and evening.
| Step | Product / Action | Role in the routine |
|---|---|---|
| 1 | Gentle cleansing | Clean skin, free of makeup, for clear contact. |
| 2 | Water-based serum (optional) | Allow it to penetrate for a few seconds before the oil. |
| 3 | Plant-based oil (3 to 4 drops) | The essential gliding layer for the stone. |
| 4 | Gua sha | The massage itself, 3 to 5 minutes, from the neck upwards. |
| 5 | Moisturizing cream | It seals everything in and prolongs skin comfort. |
Remember this guideline: it comes after the oil, before the cream. This step gives the ritual its full coherence and avoids the most common mistake—working on skin that drags.
Before you start: preparing your skin and your tool
A successful massage always begins with good preparation. The stone should never be used on dry skin: without glide, it will pull, tug, and become uncomfortable.
Cleanse your face. The massage should be performed on clean skin, free of makeup and daily impurities. This is the ideal time after evening makeup removal.
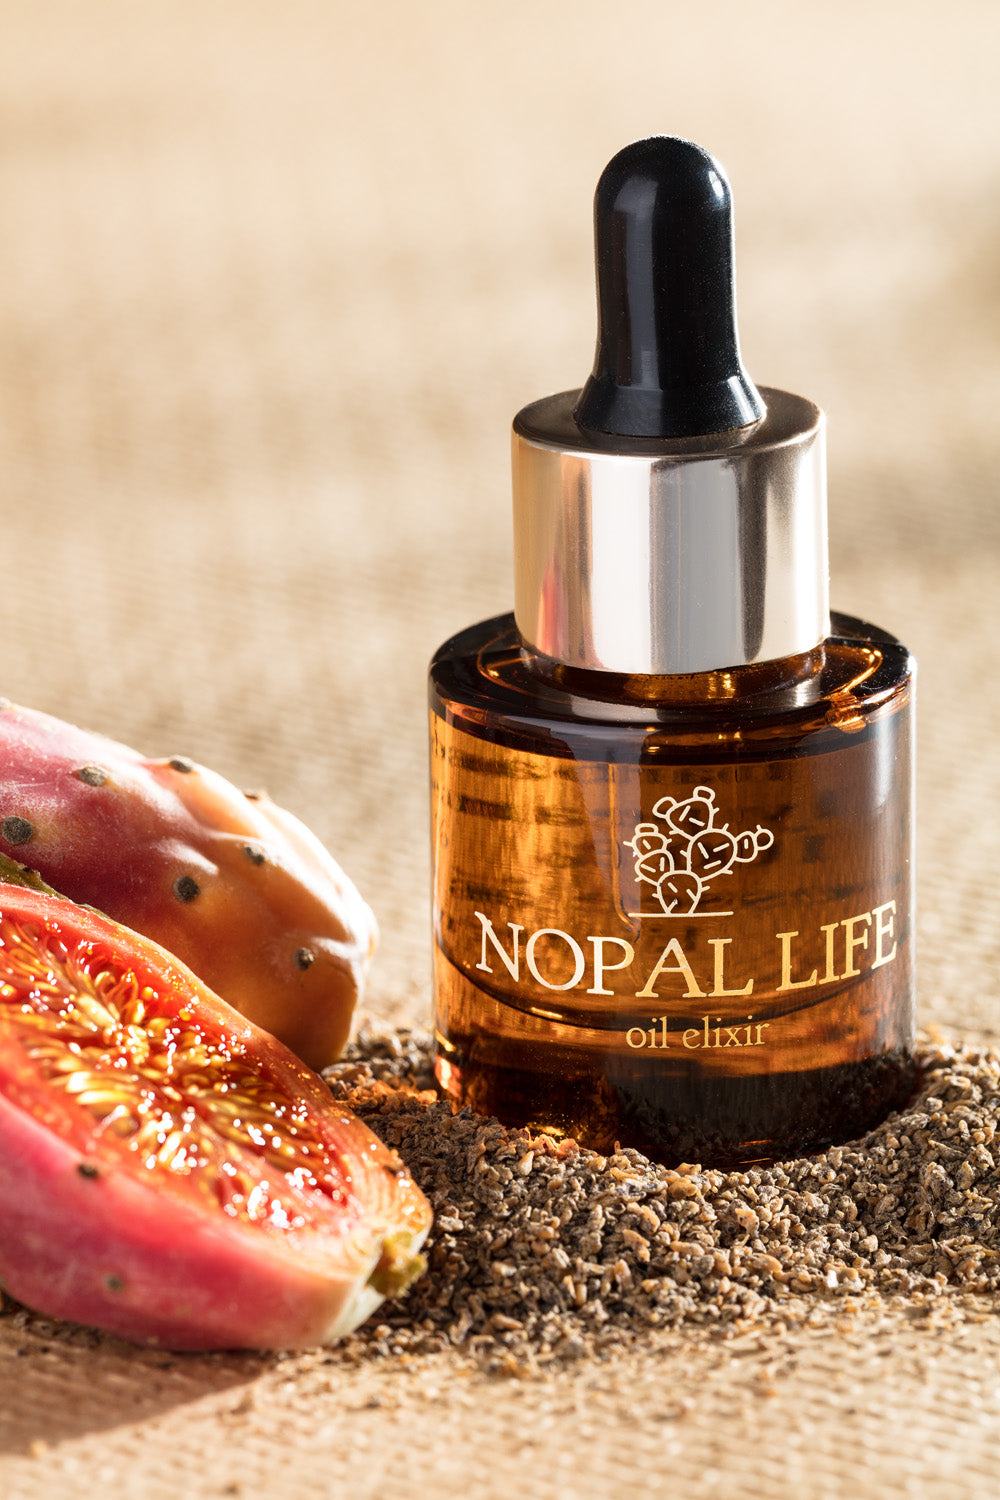
Apply a gliding product. This is the key step. A few drops of plant oil provide perfect glide and nourish the skin during the massage. Cold-pressed prickly pear seed oil, rich in vitamin E and essential fatty acids, is an ideal ally: its fine texture envelops the skin without overloading it and leaves a supple and comfortable finish. From experience, 3 to 4 drops are enough for the entire face — enough to glide without a greasy effect. Discover other textures in the Facial Oils collection.
Choose your temperature. Stored for a few minutes in the refrigerator, the stone provides a pleasant coolness, especially upon waking for a "rested face" effect and a decongested appearance for under-eye bags. At room temperature, it encourages more relaxation in the evening.
Get comfortable. Hold the stone flat, almost parallel to the skin, not on its edge. This shallow angle, around 15°, ensures gentle contact and glide without pulling. This simple technique changes everything: it is what distinguishes an amateur pass from a truly masterful massage.
The gesture, step by step
Here is the complete sequence, from the neck upwards to the face. Repeat each movement 3 to 5 times, always in the same direction, with light to moderate pressure. The goal is never to press hard: regularity takes precedence over intensity, and that is what makes the ritual beautiful.
1. The neck, to open the session. Always start with the neck. Place the stone under the jaw and glide it downwards, from the top of the neck to the collarbone, on each side. This first pass, often called "draining," relaxes the area and prepares the face for the rest of the treatment.
2. The jawline and oval. Place the V-shaped notch of the tool on the chin, then move it up along the jawline to the earlobe. This slow, firm-enough movement helps to redefine the oval and create a clearer contour.
3. The cheeks. Flat, start from the side of the nose and glide outwards, towards the temple, moving slightly upwards. The direction is important: always from the center outwards and from bottom to top, for a visual lifting effect.
4. The eye contour, with extreme gentleness. With the thinnest edge and very light pressure, start from the inner corner of the eye and glide towards the temple, under the eyebrow arch. This area is delicate: you should barely touch it rather than massage, never stretching the skin. This is where the coolness of the stone helps most to visually reduce the appearance of puffiness.
5. The forehead. Move up from the middle of the eyebrows to the hairline, sweeping across the entire width of the forehead, from one side then the other. Finish with a horizontal movement towards the temples to release tension and smooth the appearance of expression lines.
6. Finishing towards the neck. Conclude by bringing the stone down from the temple, along the ear and neck. This final downward pass gives the ritual its coherence and ultimate feeling of lightness.
The whole process takes three to five minutes. It's a suspended moment, for both complexion and mind.
Morning or evening?
Both are valid, but they don't quite aim for the same thing. In the morning, the freshness awakens and brightens the complexion; in the evening, the ambient warmth extends relaxation. Here's how to fit both versions of the ritual into a day, with concrete guidelines for duration and temperature.
| Reference | In the morning | In the evening |
|---|---|---|
| Tool temperature | Cool (from the refrigerator) | Room temperature |
| Order of products | Light cleansing → oil → gua sha → cream → sunscreen | Makeup removal → cleansing → oil → gua sha → night cream |
| Recommended duration | 2 to 3 minutes | 4 to 5 minutes |
| Number of passes | 3 per area | 4 to 5 per area |
| Appearance objective | Awakened complexion, reduced puffiness | Relaxed features, comforted skin |
There's no need to do both every day. A cool pass in the morning or a longer session in the evening is more than enough: it's regularity, not accumulation, that produces visible results over weeks.
Choosing your stone: rose quartz, jade, or amethyst
All stones glide, but they don't have the same density or retain coolness in the same way. The choice is mainly about sensation and aesthetics—none is "more effective" than another. This table compares the three most common minerals according to their hardness on the Mohs scale (a mineralogy reference), a concrete indicator of their robustness and durability.
| Stone | Hardness (Mohs) | Sensation | Perceived benefits |
|---|---|---|---|
| Rose quartz | 7 | Soft, velvety | A very gentle movement, pleasant for reactive skin. |
| Jade (nephrite) | 6 to 6.5 | Smooth, slightly warm to the touch | The traditional massage stone, inviting relaxation. |
| Amethyst | 7 | Cool, dense | Retains cold well, appreciated for the eye contour. |
In practice, a denser stone (quartz, amethyst) retains coolness a little longer, which appeals to those who enjoy a cool morning ritual. Jade, however, remains a classic. Regardless of the stone chosen, the oil and the direction of movement matter far more than the material of the tool.
Free Skin Diagnosis
Curious to know which oil and routine your skin truly needs?
Start my free 2-min diagnosis →
Mistakes to avoid for a truly precise gesture
A few common blunders can spoil the pleasure and results of the massage. Knowing them is already halfway to avoiding them.
Pressing too hard. This tool is not for force. Excessive pressure can mark the skin and cause temporary redness. Always prefer light, repeated contact over firm pressure.
Working on dry skin. Without oil, the stone will drag and pull. Insufficient glide is the primary cause of discomfort: add a few drops of product if the skin "drinks" it too quickly.
Varying directions. The movement should always be consistent, from the center outwards and from bottom to top. Disordered back-and-forth movements blur the desired effect and disrupt the rhythm of the massage.
Forgetting hygiene. Clean the stone after each use with lukewarm water and mild soap, then dry it. A clean accessory protects the skin and the beauty of the mineral.
Going too fast. Rushing negates the "relaxation" benefit of the gesture. A few slow minutes are better than a rushed massage.
How often, and for what purposes
Adopted regularly—two to three times a week, or every evening for ritual enthusiasts—it becomes a pleasant landmark in the day. It is often credited with "draining" virtues: let's say rather that it provides a feeling of lightness and a fresher complexion, without attributing to it deep action on blood circulation or the lymphatic system. What it truly offers is a moment of care and a relaxed appearance.
To support a goal of apparent firmness, explore the Firmness & Elasticity collection; for a brighter and more even complexion, the Radiance & Even Skin Tone collection. The ritual enhances these treatments; it does not replace them.
When one gesture isn't enough: listening to your skin
The tool beautifully complements a routine, but it does not replace suitable skincare or professional advice. If your skin shows persistent redness, marked discomfort, or unusual reactions, it is best to suspend the practice and seek advice from a healthcare professional.
Frequently Asked Questions
Q: In what order should I place the tool in my routine?
A: After the oil, before the cream. Cleanse the skin, apply a water-based serum if you use one, then 3 to 4 drops of oil, perform the gua sha massage, and seal with a cream. In the morning, finish with sun protection.
Q: How often should I use it?
A: Two to three times a week is sufficient to enjoy the relaxing and brightening effects. Ritual enthusiasts can incorporate it every evening, provided they maintain light pressure and good glide. The important thing is regularity, not intensity.
Q: Morning or evening?
A: Both are suitable. In the morning, when cool, it helps give the impression of a rested and radiant face, with reduced puffiness. In the evening, at room temperature, it supports a moment of relaxation after makeup removal. Choose the time that best fits your routine.
Q: Is oil absolutely necessary?
A: Yes. The stone should never be used on dry skin: it would drag and become uncomfortable. A few drops of oily treatment, such as prickly pear oil, ensure perfect glide while nourishing the skin. Count 3 to 4 drops for the entire face.
Q: What pressure should I apply?
A: Light to moderate pressure, never firm. The gesture should remain comfortable. If the skin reddens or pulls, it's a sign of too much pressure or insufficient glide: lighten up and add a few drops of product.
Q: Is the tool suitable for sensitive skin?
A: Gently, yes. Prioritize very light pressure, a reduced number of passes, and a well-tolerated oil. A soft stone like rose quartz is a good choice. If the skin reacts or stays red for a long time, space out sessions and prioritize your comfort. When in doubt, seek professional advice.
Q: What direction should I follow exactly?
A: Always from the center of the face outwards, and from bottom to top, starting with the neck. This single direction, repeated 3 to 5 times per area, gives the gesture its coherence and the desired visual lifting effect.
Q: Does it replace a cream or serum?
A: No. It is a comfort accessory that accompanies the application of your skincare products, but does not substitute for them. It enhances a suitable ritual, without ever replacing the textures that nourish and protect the skin daily.
Using a gua sha like an expert doesn't depend on a mysterious knack, but on a few simple guidelines: skin well-nourished with oil, a shallow angle of around 15°, a single direction from the center outwards, and always light pressure. Placed correctly in the routine—after the oil, before the cream—this massage offers the skin a moment of relaxation and the complexion an extra boost of radiance. And to build a truly personalized routine around it, the Nopal Life Skin Intelligence™ transforms observation into tailored gestures in two minutes.
Read more
Information provided for cosmetic and educational purposes only; it does not constitute medical advice.


Go further than this article
Get our skincare guides by email — and start with your free skin diagnostic: 2 minutes, advice tailored to your skin. We ship to the US, UK, Canada, Australia and 27 European countries; somewhere else? Sign up and you will be the first to know when we deliver to your country.
By signing up, you agree to our privacy policy. Unsubscribe in one click.